

Complete Solar Tube Well Installation — Step by Step Guide


Introduction
A solar tube well is one of the smartest investments for farmers, landowners, industries, farmhouses, and agricultural businesses. In areas where electricity is expensive, load shedding is common, or diesel costs are rising, a solar-powered tube well gives a reliable and long-term water solution.
Instead of depending on diesel generators or grid electricity, a solar tube well uses sunlight to run the pump and draw underground water for irrigation, livestock, landscaping, or commercial use.
But here is the important point:
A successful solar tube well is not just about installing solar panels.
It is a complete system that includes:
- Proper bore/well assessment
- Correct pump selection
- Solar panel sizing
- Strong mounting structure
- Solar inverter or controller
- Cable protection
- Earthing and safety
- Testing and maintenance
If any step is done incorrectly, the system may give low water output, pump failure, inverter errors, or poor performance in hot weather.
This detailed guide explains the complete solar tube well installation process step by step.
What Is a Solar Tube Well?
A solar tube well is a water pumping system that uses solar energy to operate a submersible pump or turbine pump. The solar panels generate DC electricity from sunlight. This power is then supplied either directly to a DC pump or converted through a solar pump inverter to run an AC pump.
A complete solar tube well system normally includes:
- Solar panels
- Submersible pump or turbine pump
- Solar pump inverter / VFD
- Bore or tube well
- Mounting structure
- DC and AC cables
- Protection boxes
- Earthing system
- Delivery pipe
- Water storage or irrigation line
In simple words:
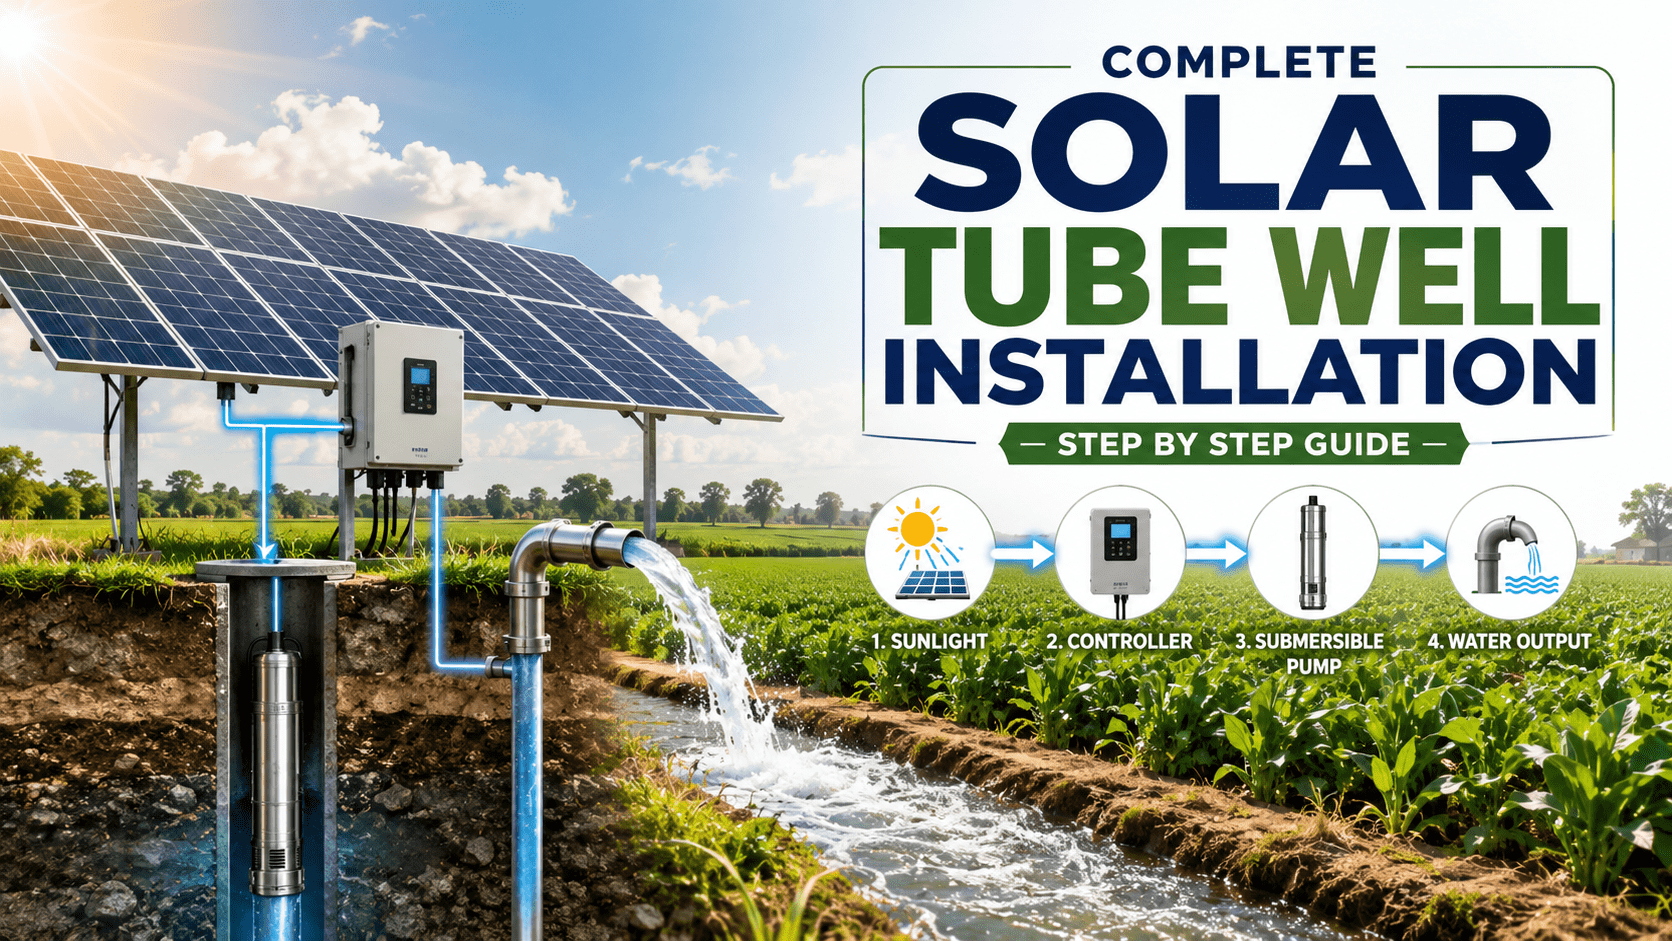
Sunlight → Solar Panels → Inverter/Controller → Pump → Water Output
Why Solar Tube Wells Are Becoming Popular
Solar tube wells are becoming common because they reduce long-term operating costs. A diesel tube well needs fuel every day. An electric tube well depends on grid supply and monthly bills. A solar tube well uses free sunlight after installation.
Main Reasons People Choose Solar Tube Wells
- No daily diesel expense
- Lower electricity bills
- Best for remote agricultural areas
- Reliable water pumping during daytime
- Environment-friendly system
- Long-term return on investment
- Low maintenance compared to diesel engines
- Useful for farms, orchards, fields, and livestock
For farmers, water availability directly affects crop production. A solar tube well gives more control over irrigation timing, especially during sunny hours when crops need water the most.
Before Installation: Important Site Inspection
Before installing a solar tube well, a proper site survey is necessary. This is where many people make mistakes. They buy panels and pumps without checking the bore depth, water level, and water requirement.
A professional survey should check:
- Bore depth
- Static water level
- Dynamic water level
- Required water flow
- Pipe size
- Distance from panels to pump
- Available open space for panels
- Sunlight direction
- Shading from trees, walls, or buildings
- Soil condition for structure
- Existing pump condition
If the survey is wrong, the whole system may underperform.
Step-by-Step Solar Tube Well Installation Process
Step 1: Check Water Requirement
The first step is to calculate how much water is needed. Different uses require different water flow.
For example:
- Small farmhouse garden needs less water
- One acre crop irrigation needs more water
- Large agricultural land needs high flow
- Drip irrigation needs controlled pressure
- Flood irrigation needs higher volume
The required water is usually measured in:
- Liters per minute
- Gallons per minute
- Cusecs
- Cubic meters per hour
Before selecting a pump, ask:
- How many acres need irrigation?
- How many hours per day will the pump run?
- What type of crop is grown?
- Is water needed for storage tank or direct irrigation?
- Is the land flat or elevated?
Correct water calculation helps avoid overspending and underperformance.
Step 2: Measure Bore Depth and Water Level
The bore depth and water level decide the pump size. A deep bore requires more power because the pump has to lift water from a greater depth.
There are two important water levels:
Static Water Level
This is the water level when the pump is not running.
Dynamic Water Level
This is the water level when the pump is running and water is being drawn.
The dynamic water level is more important because the pump works under this condition.
You also need to consider:
- Vertical lifting height
- Pipe friction loss
- Delivery distance
- Tank height if filling storage
- Pressure requirement for irrigation system
This total lifting requirement is called Total Dynamic Head.
Step 3: Select the Right Pump
Pump selection is the heart of the solar tube well system. The wrong pump can waste money and reduce water output.
Common pump options include:
- AC submersible pump
- DC submersible pump
- Solar-specific pump
- Turbine pump
- Existing electric pump with solar inverter
Things to Consider When Selecting Pump
- Bore diameter
- Required water flow
- Total head
- Motor horsepower
- Voltage requirement
- Brand reliability
- Spare parts availability
- Warranty
- Water quality
- Sand level in bore
A shallow bore may work with a small pump, while a deep bore may require a powerful submersible pump with higher head capacity.
Comparison Table: AC Solar Pump vs DC Solar Pump
| Feature | AC Solar Pump | DC Solar Pump |
|---|---|---|
| Power Type | Uses AC power through inverter | Uses DC power directly |
| Best For | Medium to large tube wells | Small to medium systems |
| Cost | Usually higher with inverter | Can be lower for small systems |
| Maintenance | Easy if parts are available | Depends on brand and parts |
| Performance | Strong for deep bore and high flow | Efficient for smaller applications |
| Existing Pump Use | Existing AC pump can often be used | Usually requires dedicated DC pump |
| Scalability | Better for large farms | Limited for very high power needs |
| Repair Availability | More common in local markets | May be difficult in some areas |
| Recommended For | Agriculture, deep bore, heavy use | Small farms, tanks, light irrigation |
Step 4: Calculate Solar Panel Capacity
After selecting the pump, the next step is solar panel sizing. The solar panel capacity must be enough to run the pump properly during sunlight hours.
For example:
- A small pump may need fewer panels
- A 3HP pump needs more solar capacity
- A 5HP pump needs a larger solar array
- A deep bore pump may require extra power margin
Panel sizing depends on:
- Pump horsepower
- Motor efficiency
- Inverter efficiency
- Sunlight availability
- Seasonal variation
- Required daily running hours
A good system is not designed only for peak sunlight. It should also perform in morning, afternoon, and slightly cloudy conditions.
Important Tip:
Always keep some extra margin in solar panel capacity. A system designed too tightly may work well at noon but perform poorly during weak sunlight.
Step 5: Select Solar Pump Inverter or Controller
The solar pump inverter controls the pump and converts solar energy into usable power. For AC pumps, a solar VFD or pump inverter is required.
A good solar pump inverter provides:
- Soft start protection
- Dry run protection
- Overvoltage protection
- Undervoltage protection
- Overload protection
- MPPT tracking
- Frequency control
- Stable pump operation
The inverter should match:
- Pump horsepower
- Pump voltage
- Solar panel voltage range
- Motor current
- Application type
A low-quality inverter can damage the pump or reduce water output. For long-term performance, choosing a reliable inverter is very important.
Step 6: Choose the Right Mounting Structure
Solar panels need a strong structure. Weak structures may bend, rust, or fail during strong winds.
A good solar structure should have:
- Strong galvanized iron or quality steel
- Proper foundation
- Correct tilt angle
- Anti-rust coating
- Strong nuts and bolts
- Wind resistance
- Easy cleaning access
Panel Direction
In Pakistan and many similar regions, solar panels are usually installed facing south for better sunlight exposure.
The structure should be placed where there is no shade from:
- Trees
- Buildings
- Electric poles
- Walls
- Water tanks
- Nearby structures
Even small shading can reduce system performance.
Step 7: Install Solar Panels
Once the structure is ready, solar panels are installed carefully. Panels should be handled with care because glass damage or micro-cracks can reduce performance.
During panel installation:
- Keep panels aligned properly
- Tighten clamps securely
- Avoid panel scratches
- Maintain proper spacing
- Follow correct series and parallel wiring
- Keep cable routing neat
- Avoid loose connectors
The installer must make sure the panel voltage and current are according to inverter requirements.
Step 8: Install Protection Boxes and Wiring
Electrical protection is extremely important in solar tube well systems. Many failures happen due to poor wiring, loose joints, low-quality breakers, and no earthing.
A proper system should include:
- DC protection box
- AC protection box
- DC breakers
- AC breakers
- Surge protection device
- Proper cable size
- MC4 connectors
- Cable trays or pipes
- Waterproof junctions
- Earthing system
Why Cable Size Matters
If the cable is too small, it causes:
- Voltage drop
- Heating
- Power loss
- Low pump performance
- Risk of cable burning
Always use cable size according to current, distance, and load.
Step 9: Lower the Pump into the Bore
This is one of the most sensitive steps. The pump should be lowered carefully into the bore with proper pipe, cable, and safety rope.
Before lowering the pump:
- Check pump model and rating
- Check motor insulation
- Check cable joint waterproofing
- Check delivery pipe quality
- Check non-return valve
- Check bore cleanliness
- Check pump direction if applicable
While lowering:
- Do not drop the pump
- Do not damage the cable
- Use proper pipe clamps
- Keep the cable tied with pipe
- Avoid sharp bends
- Maintain safe pump depth
The pump should not be placed too close to the bottom of the bore because sand and mud can enter the pump and damage it.
Step 10: Connect Pump with Inverter
After the pump is installed, it is connected to the solar inverter. The inverter is then connected to the solar panel array.
The technician should check:
- Input voltage
- Output voltage
- Motor current
- Frequency settings
- Pump rotation
- Protection settings
- Dry run settings
- Start and stop behavior
For three-phase pumps, phase sequence is important. If the pump rotates in the wrong direction, water output will be very low.
Step 11: Test the System
Testing should be done before final handover. A professional installer should run the system and check performance.
Testing includes:
- Water flow test
- Ampere reading
- Voltage reading
- Frequency reading
- Pressure test
- Leakage check
- Vibration check
- Noise check
- Inverter error check
- Panel output check
The system should be tested at different sunlight levels if possible.
Signs of Good Installation
- Smooth pump start
- Stable water output
- No unusual noise
- No cable heating
- No inverter fault
- Proper pressure
- Clean wiring
- Strong panel structure
- Safe earthing
Pros and Cons of Solar Tube Well Installation
Pros
- Low Running Cost
After installation, sunlight is free. This reduces fuel and electricity expenses. - Best for Agriculture
Solar pumping works well during daytime when irrigation is usually needed. - Less Maintenance Than Diesel
No engine oil, filters, belts, or fuel handling required. - Environment-Friendly
Solar tube wells reduce smoke, noise, and fuel use. - Reliable in Remote Areas
Ideal for places where grid electricity is unavailable or unstable. - Long-Term Investment
A properly installed solar system can provide benefits for many years. - Can Work with Existing Pump
In many cases, an existing AC pump can be operated through a solar pump inverter.
Cons
- High Initial Cost
Solar tube well installation requires investment in panels, inverter, structure, wiring, and pump. - Depends on Sunlight
Water output is lower during cloudy weather, early morning, and evening. - Needs Proper Design
Incorrect sizing can cause poor performance. - Space Required for Panels
Solar panels need open, shade-free land. - No Night Operation Without Backup
A standard solar tube well works during sunlight hours unless battery or grid backup is added. - Quality Matters
Cheap panels, weak inverters, and poor wiring can create long-term problems.
Solar Tube Well vs Diesel Tube Well vs Electric Tube Well
| Feature | Solar Tube Well | Diesel Tube Well | Electric Tube Well |
|---|---|---|---|
| Running Cost | Very low | Very high | Medium to high |
| Initial Cost | High | Medium | Medium |
| Fuel Required | No | Yes | No |
| Electricity Bill | No or very low | No | Yes |
| Maintenance | Low | High | Medium |
| Noise | Very low | High | Low |
| Best For | Farms, remote areas, long-term use | Temporary or emergency use | Areas with stable grid |
| Dependability | Depends on sunlight | Depends on fuel | Depends on grid |
| Long-Term Savings | Excellent | Poor | Moderate |
Common Mistakes During Solar Tube Well Installation
Many solar tube well systems fail because of small but costly mistakes.
Avoid These Mistakes
- Installing panels in shaded areas
- Selecting pump without checking bore depth
- Using undersized cables
- Buying low-quality inverter
- Ignoring earthing
- Using weak mounting structure
- Poor waterproofing of cable joints
- Not checking dynamic water level
- Installing pump too deep or too low
- Not setting inverter protections
- Using cheap connectors and breakers
- No regular cleaning of panels
A solar tube well is a technical system. It should be designed by professionals, not by guesswork.
Maintenance Tips for Solar Tube Wells
A solar tube well needs less maintenance than diesel systems, but it still needs regular care.
Monthly Maintenance
- Clean solar panels
- Check cable connections
- Inspect inverter display
- Check water flow
- Look for pipe leakage
- Check panel structure bolts
- Remove dust, leaves, and bird droppings
Seasonal Maintenance
- Check earthing
- Inspect protection boxes
- Check pump performance
- Test voltage and current
- Inspect bore water quality
- Tighten loose connections
- Check rust on structure
Important Maintenance Tip
If water output suddenly decreases, do not immediately blame the pump. Check:
- Solar panel cleaning
- Inverter settings
- Sunlight condition
- Cable connection
- Water level drop
- Pipe blockage
- Pump rotation direction
How to Choose the Right Installer
The quality of installation is just as important as the quality of equipment.
Choose an installer who provides:
- Proper site survey
- Pump sizing calculation
- Original products
- Professional wiring
- Strong structure
- Protection system
- Testing report
- Warranty support
- After-sales service
Avoid installers who only focus on cheap rates. A low-cost system can become expensive if it fails repeatedly.
Final Checklist Before Starting Installation
Before approving the installation, confirm these points:
- Bore depth is checked
- Water level is measured
- Required water flow is calculated
- Pump size is selected correctly
- Solar panel capacity is suitable
- Inverter matches pump rating
- Structure is strong
- Cable size is correct
- Protection boxes are included
- Earthing is installed
- Warranty is clear
- Testing will be done after installation
This checklist can save money, time, and future problems.
Conclusion
A solar tube well is a powerful solution for modern farming and water management. It reduces dependence on diesel, lowers electricity costs, and gives reliable water pumping during sunlight hours.
However, the success of a solar tube well depends on proper planning and professional installation. The bore depth, water level, pump size, solar panel capacity, inverter quality, structure strength, and wiring all play an important role.
A well-designed solar tube well can serve for years with low maintenance and excellent savings. A poorly designed system can create daily problems.
The best approach is simple:
Survey properly. Size correctly. Install professionally. Maintain regularly.
When these steps are followed, a solar tube well becomes one of the most valuable investments for agriculture, farmhouses, and industrial water needs.